superclonewrist qc photos give the final watch review a practical pause before dispatch. A clear photo set helps check the exact prepared piece, including the dial, hands, date window, bezel, case, strap, bracelet, clasp and visible finishing, before order approval moves through the official support route.
Before a watch leaves the QC desk, one steady review can remove a lot of last-minute doubt. The photo set is not decoration. It is a practical record of the actual piece prepared after model selection, version discussion and order notes are already clear.
For a clean path, the first official stop should stay simple. Start from SuperCloneWrist, compare the relevant collection or product page, review the QC Process, check factory notes through the Factory Version Guide, and keep final order questions inside Official Contact.
However, this guide has a narrow job. It explains how to read superclonewrist qc photos before shipping. It does not promise authenticity, water resistance, customs results or long-term movement behavior. A camera can show visible details, not the future.
Also, this is not a generic Rolex-only checklist. Rolex-style examples appear because many watch searches begin there. Still, the same review habits apply to Audemars Piguet-style integrated bracelets, Patek Philippe-style rubber strap pieces, Omega-style sports bezels, Richard Mille-style case shapes and Hublot-style larger profiles.
Why QC Photos Matter at SuperCloneWrist
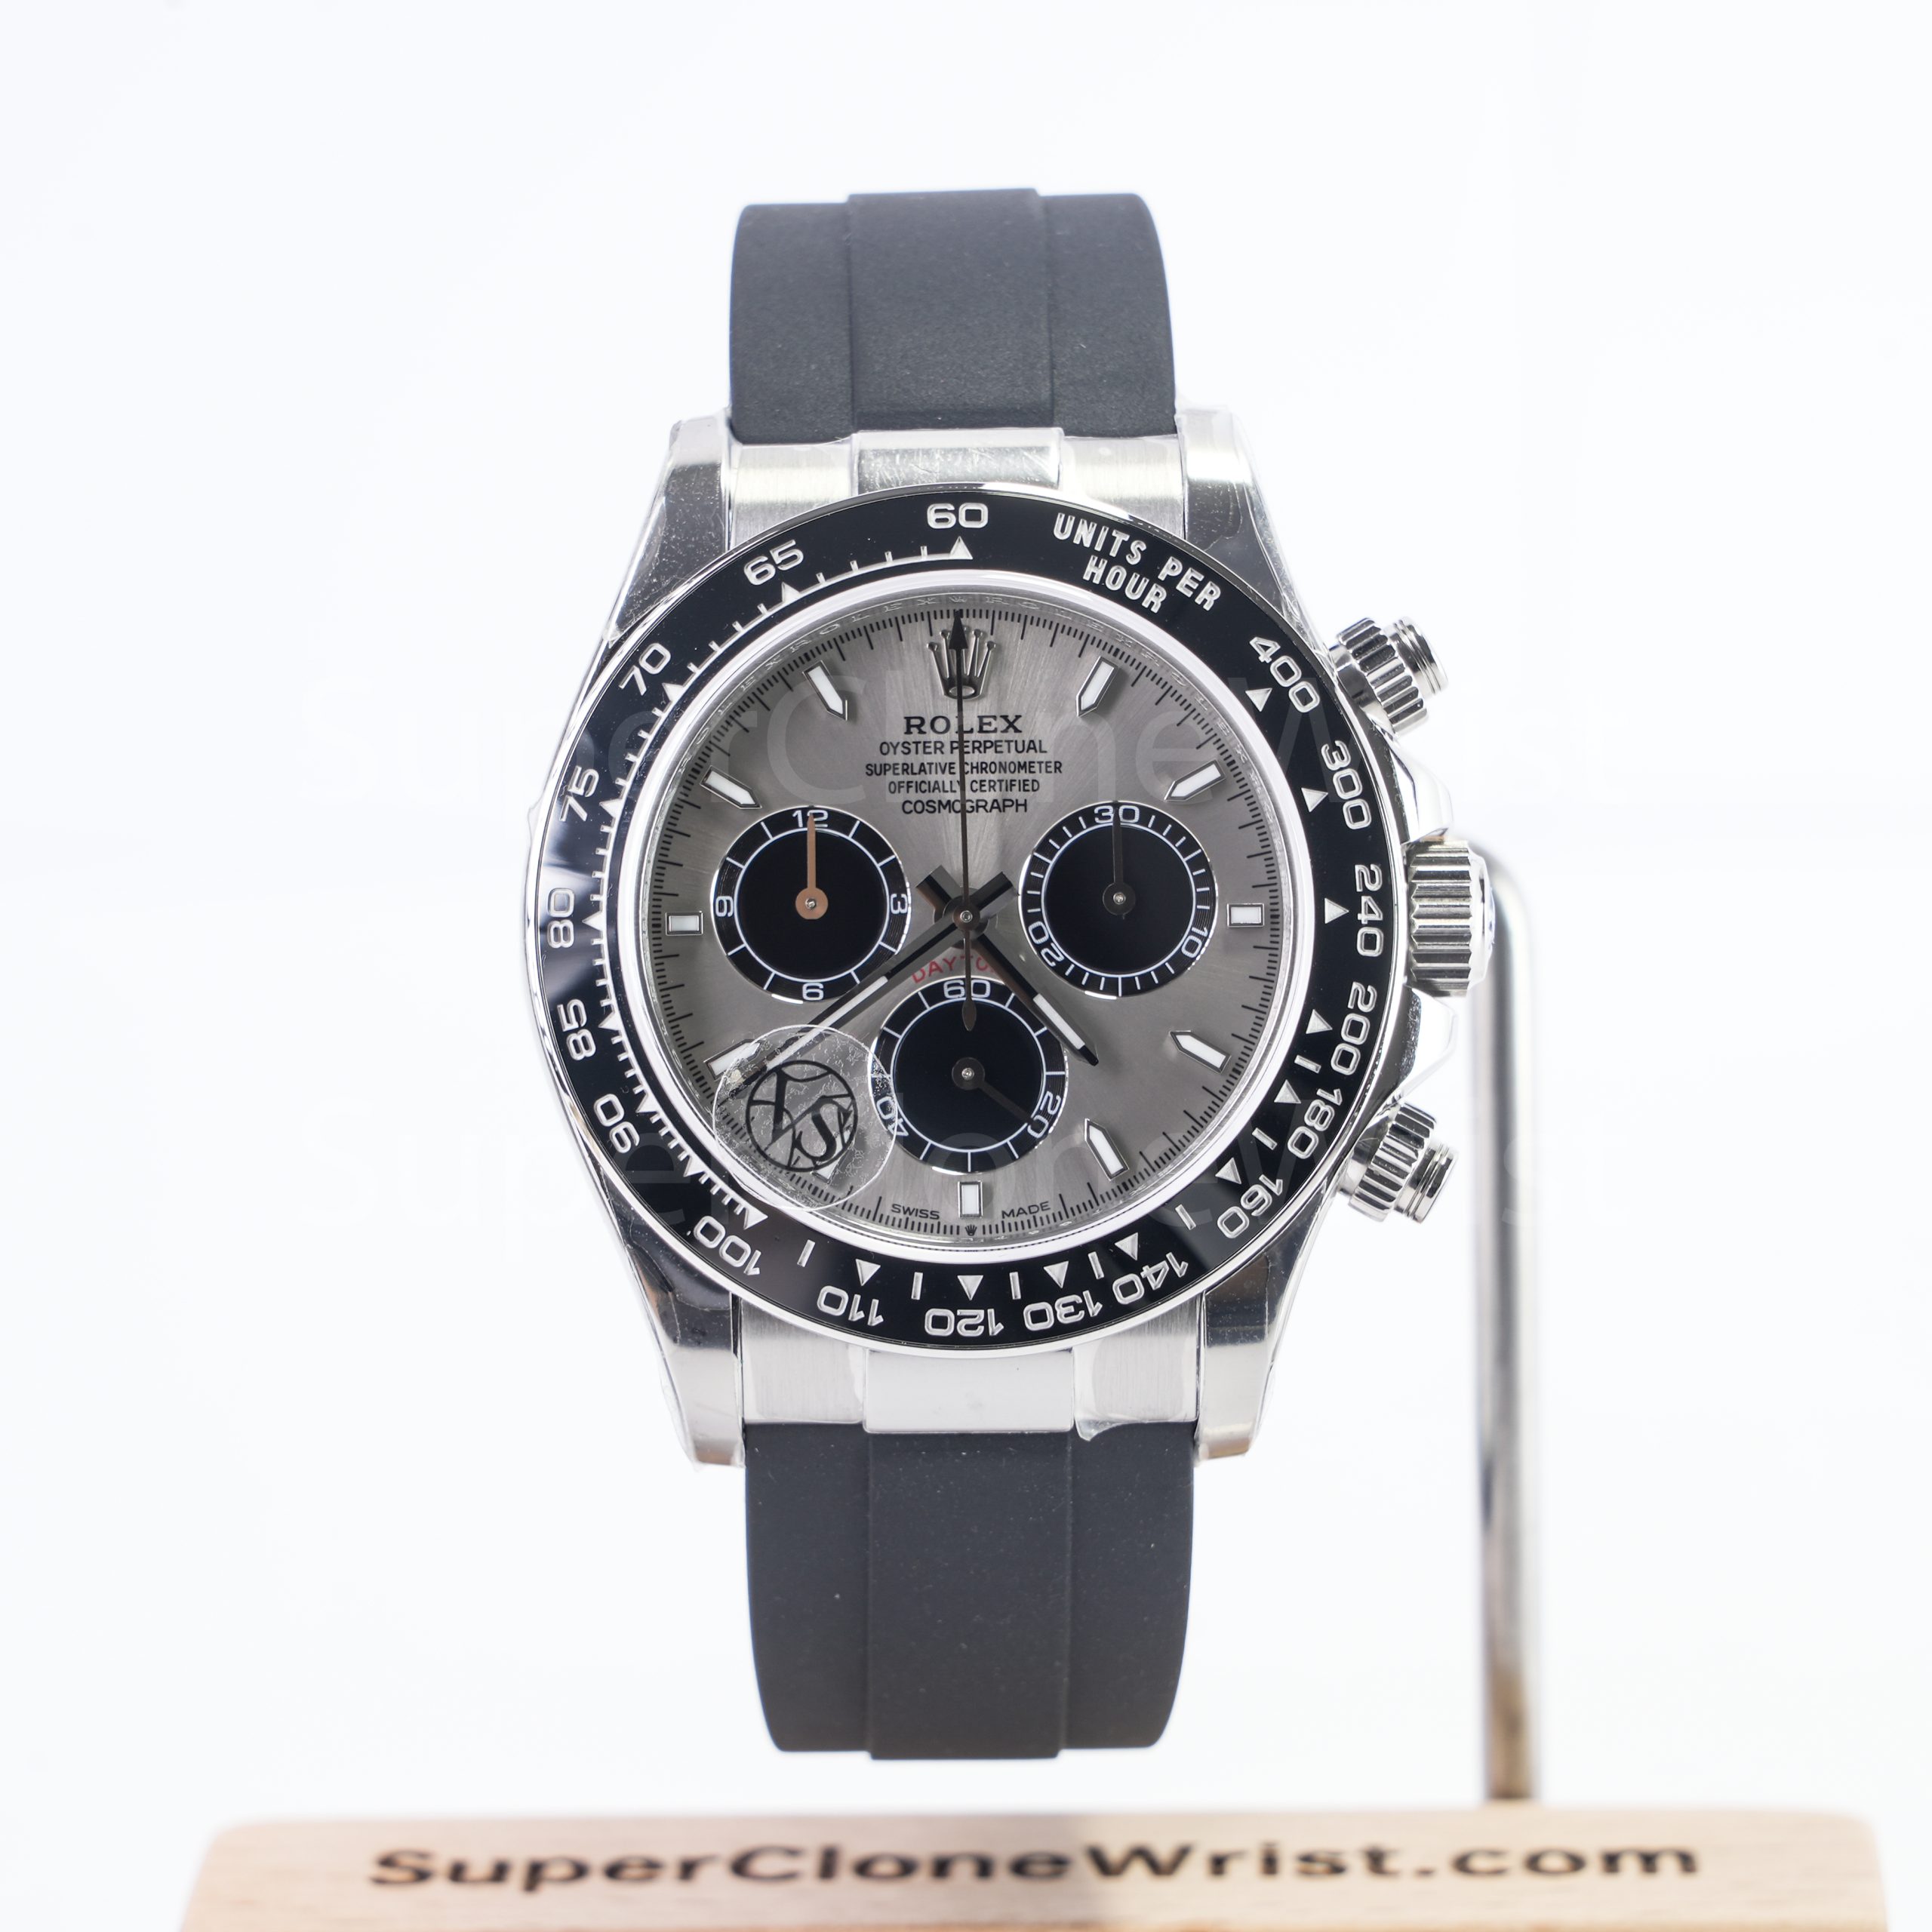
At the final stage, QC photos create a visible checkpoint. A useful set normally includes a straight front dial image, a side case image, a bracelet or strap image, a clasp or buckle image, and one or two close-ups for the detail that matters most on that model.
However, more images do not automatically mean better review. A clear straight photo beats five dramatic angled shots. For example, a 12 o’clock marker, a date window or a bezel pip needs a straight view because angled lighting can make small parts look worse or better than they are.
Therefore, the first rule is simple: confirm the whole watch first, then inspect the smaller parts. A photo set should answer whether the prepared watch matches the selected model, dial color, case finish, strap or bracelet style and version direction. Only after that should small alignment details take priority.
A practical mindset
The strongest QC review is strict but calm. It checks what the camera can show, asks for one missing angle when needed, and keeps payment, dispatch and delivery questions inside the official contact thread.
Visible detail review, not a future guarantee
A QC photo can show whether the dial looks clean at 3 p.m. under a desk lamp. It can show whether the bracelet sits flat, whether the clasp engraving looks tidy, and whether the date sits inside the window without obvious drift.
Meanwhile, the same photo cannot prove future timekeeping, water use, customs handling or long-term wear. That boundary matters. It keeps the review honest and prevents photo approval from turning into a promise that no still image can support.
For water-resistance expectations, the review should stay conservative. The ISO 22810 water-resistant watch standard relates to testing requirements, so a normal QC image should not be treated as proof of water performance.
Why it reduces last-step doubt
Most hesitation comes from small visible details. A marker looks low in one image. The date lens seems slightly shifted. A polished case side reflects a phone and suddenly looks scratched. The first reaction is often too fast.
Instead, a slower routine works better. Open the photos on a larger screen, zoom only to a practical level, and compare the straight image with the closer detail shot. Two minutes at this step can prevent a long message later.
What a complete photo set should include
A complete set should normally include a straight dial photo, a case side photo, a bracelet or strap photo, a clasp or buckle photo and a close-up of any model-specific detail. A date model needs a date photo. A bezel model needs a bezel alignment view.
At the same time, a chronograph-style model may need subdial and pusher attention. A GMT-style layout may need hand position and bezel print checks. A square-case dress watch may need case corner and strap fit checks because straight lines reveal uneven edges quickly.
This is where the Movement Guide helps. A simple three-hand date model, a GMT-style model and a chronograph-style model do not need the same video request or the same final checkpoint.
Dial, Hands and Date Window Checks
The dial is where the eye lands first. Therefore, the front photo deserves the most patient review. A straight image should show the logo area, 12 o’clock marker, minute track, hand stack, date window and all main hour markers without harsh glare covering the center.
A simple clockwise routine helps. Start at 12, move to 3, then 6, then 9, and only then check the smaller markers between them. This keeps the review organized and avoids jumping from one shiny reflection to another.
Dial printing and marker placement
Dial text should look balanced from left to right. The logo should not appear squeezed to one side, and the lower text should not lean downward when the watch is photographed straight. Camera angle can distort a dial, so the straight front photo carries the most weight.
Markers should also feel seated in their intended positions. A marker that lifts at one end can catch light in a way that looks obvious at a desk or in a car. The goal is not microscope-level perfection. The goal is visible balance during normal viewing.
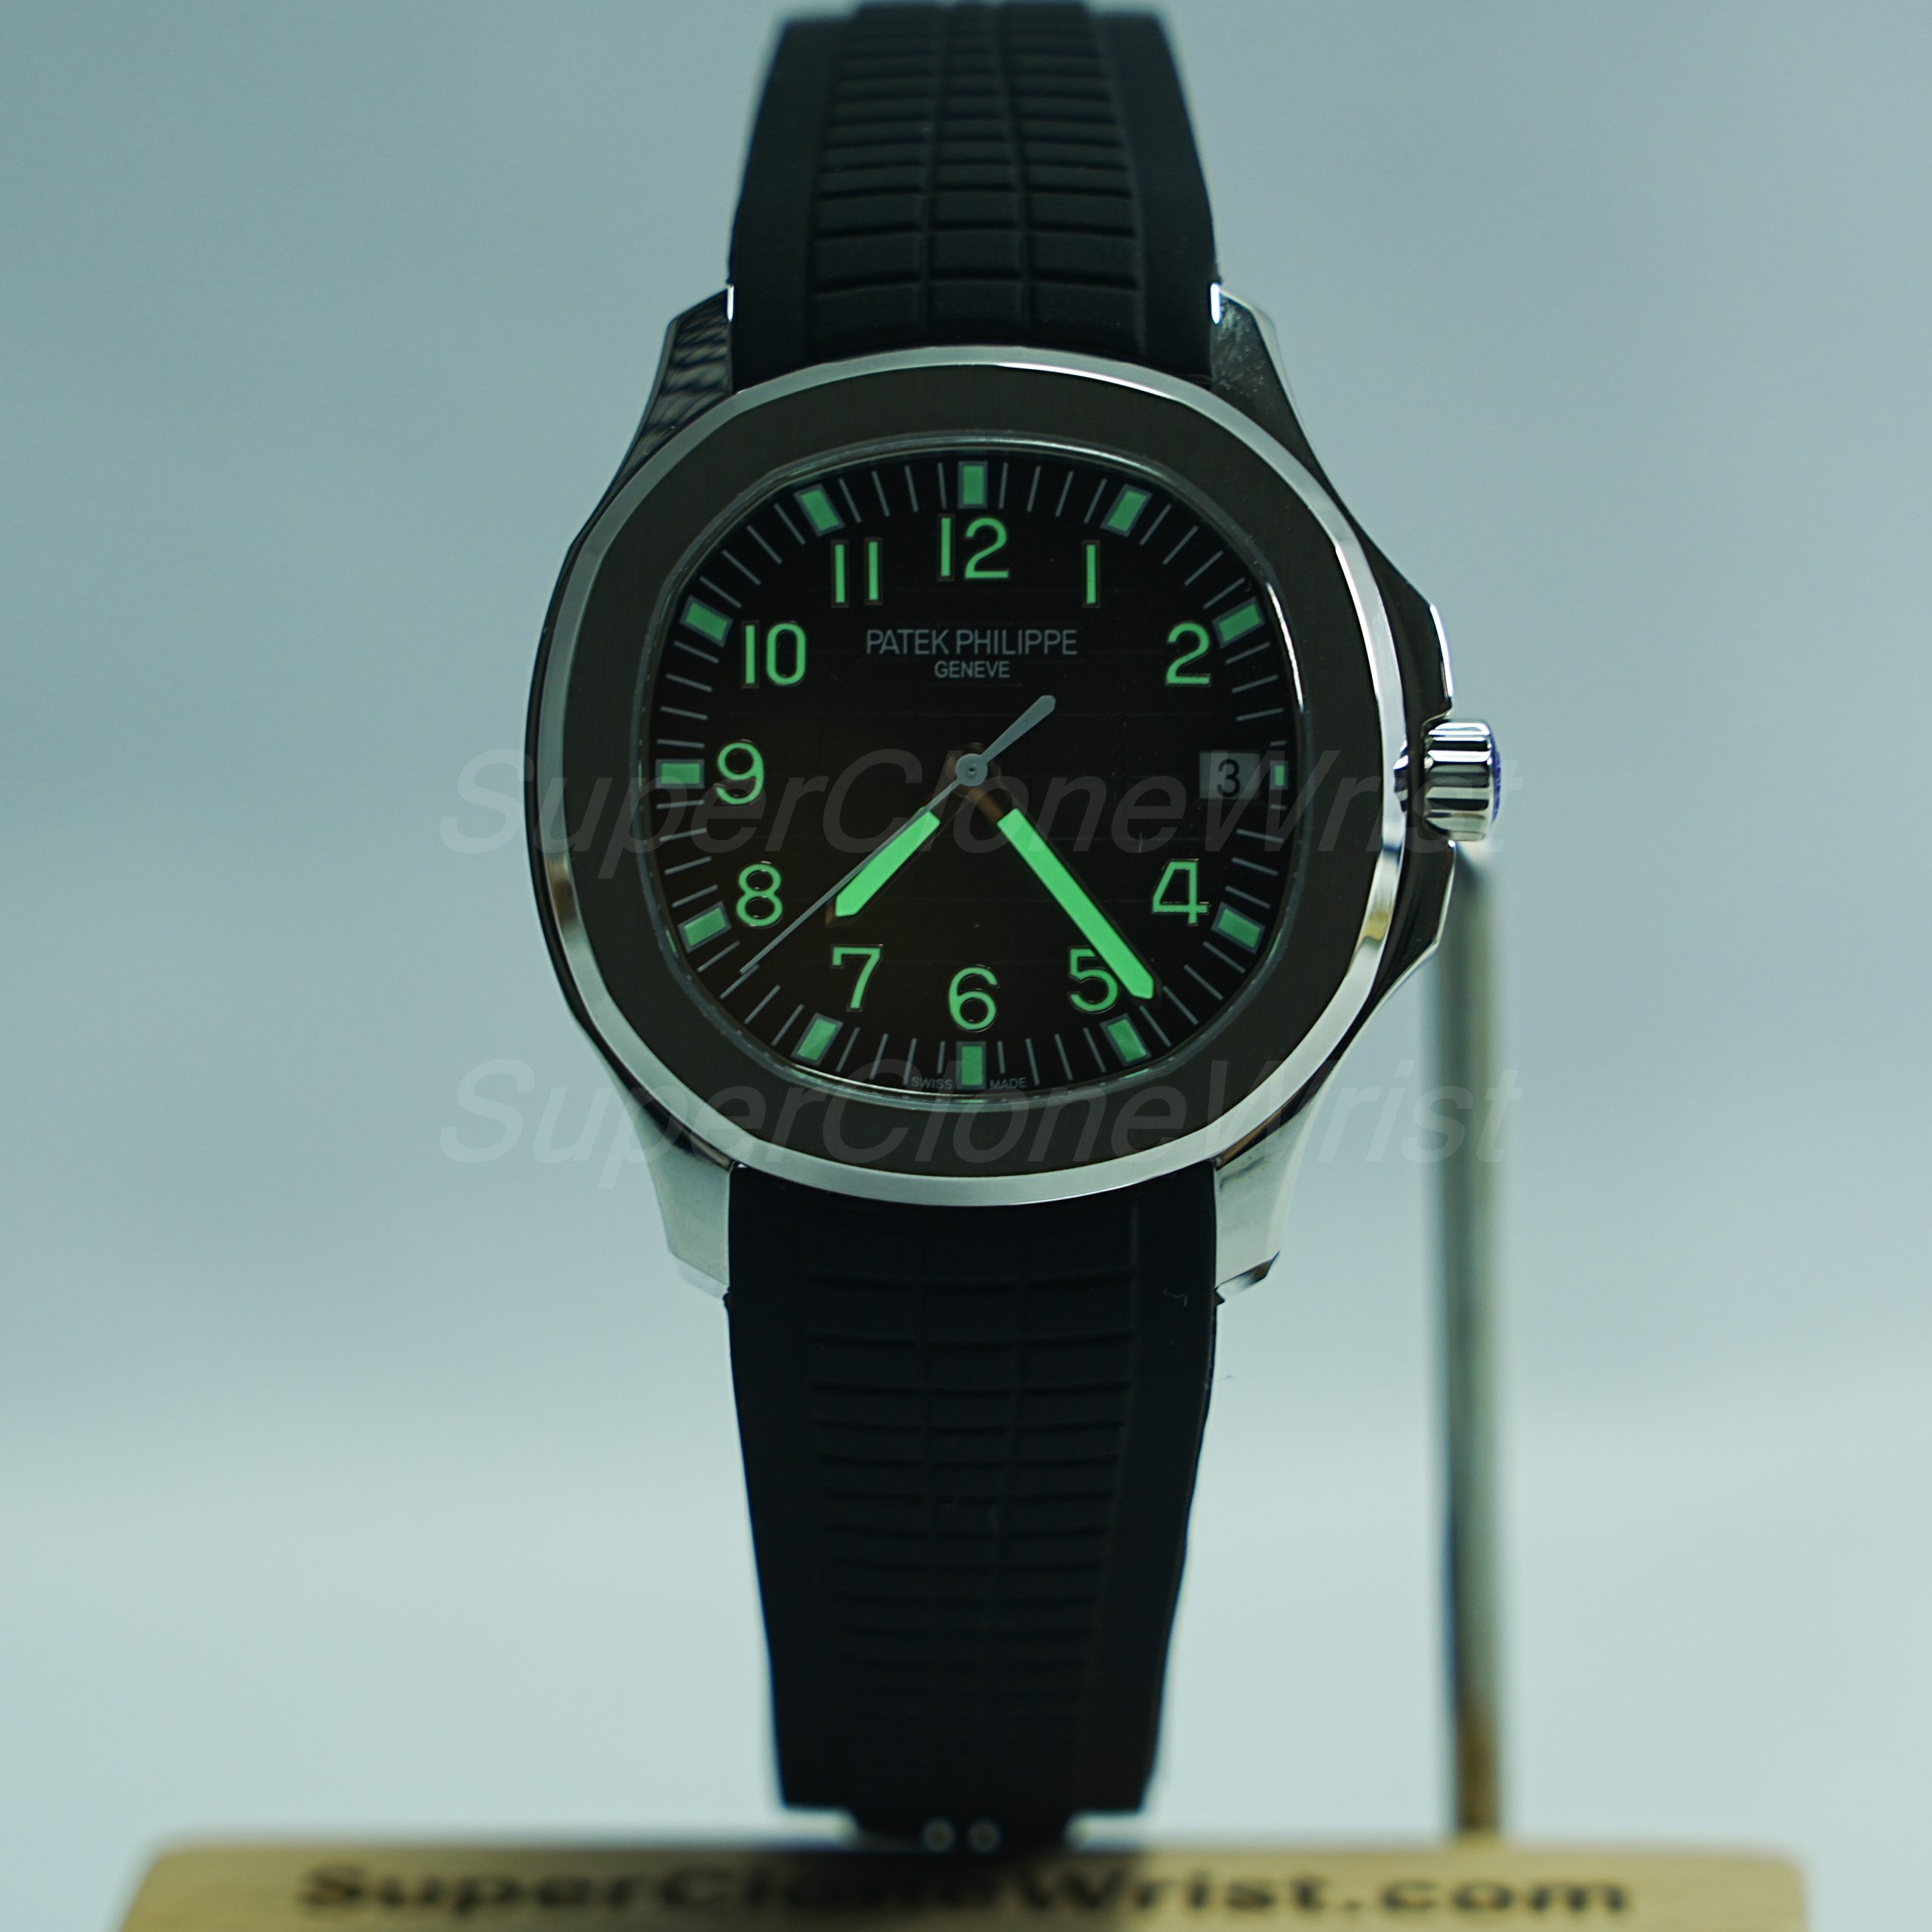
For example, a Datejust-style dial with baton markers should look even around the circle. A Submariner-style dial should make the 12, 6 and 9 layout feel stable. A Royal Oak-style tapisserie dial should not let applied markers fight the grid pattern.
Hands and center pinion
Hands sit above the dial, so small problems stand out quickly. In the main image, the hour hand, minute hand and seconds hand should look clean at the center. The center pinion should not look messy, chipped or oddly raised.
Meanwhile, chronograph-style models need extra attention. Subdial hands should rest in a sensible reset position when shown. If one subdial hand points away from zero in a still photo, a short video or a clearer angle may be useful.
On a GMT-style layout, the extra hand should not be confused with a defect. The hand stack may look busier by design. For that reason, the selected reference style should be clear before superclonewrist qc photos are reviewed.
Date window and magnifier checks
The date window is one of the most useful QC checkpoints. A date numeral should not sit too high, too low or visibly off to one side. On a cyclops-style lens, the numeral should still feel centered when the image is taken straight.
However, date photos are easy to misread. A tilted phone can make the magnifier look strange, and a bright reflection can make the numeral look warped. Therefore, one straight date close-up is more useful than several angled glamour shots.
A good question stays short: “Please send one straight date window photo.” That is enough. It gives the support team one clear action and avoids mixing date alignment with bracelet, payment and dispatch notes in the same message.
Lume plots and applied details
Lume plots should look present, clean and reasonably even. A sports-style dial with round plots can show an off-center dot quickly because the marker sits near the minute track. A dress dial usually needs more attention on polished applied markers.
A lume photo can help with visible placement, but it should not become a promise about nighttime brightness. The more honest question is simple: do the luminous areas look clean and consistent in the available photo set?
Bezel, Case and Bracelet Checks
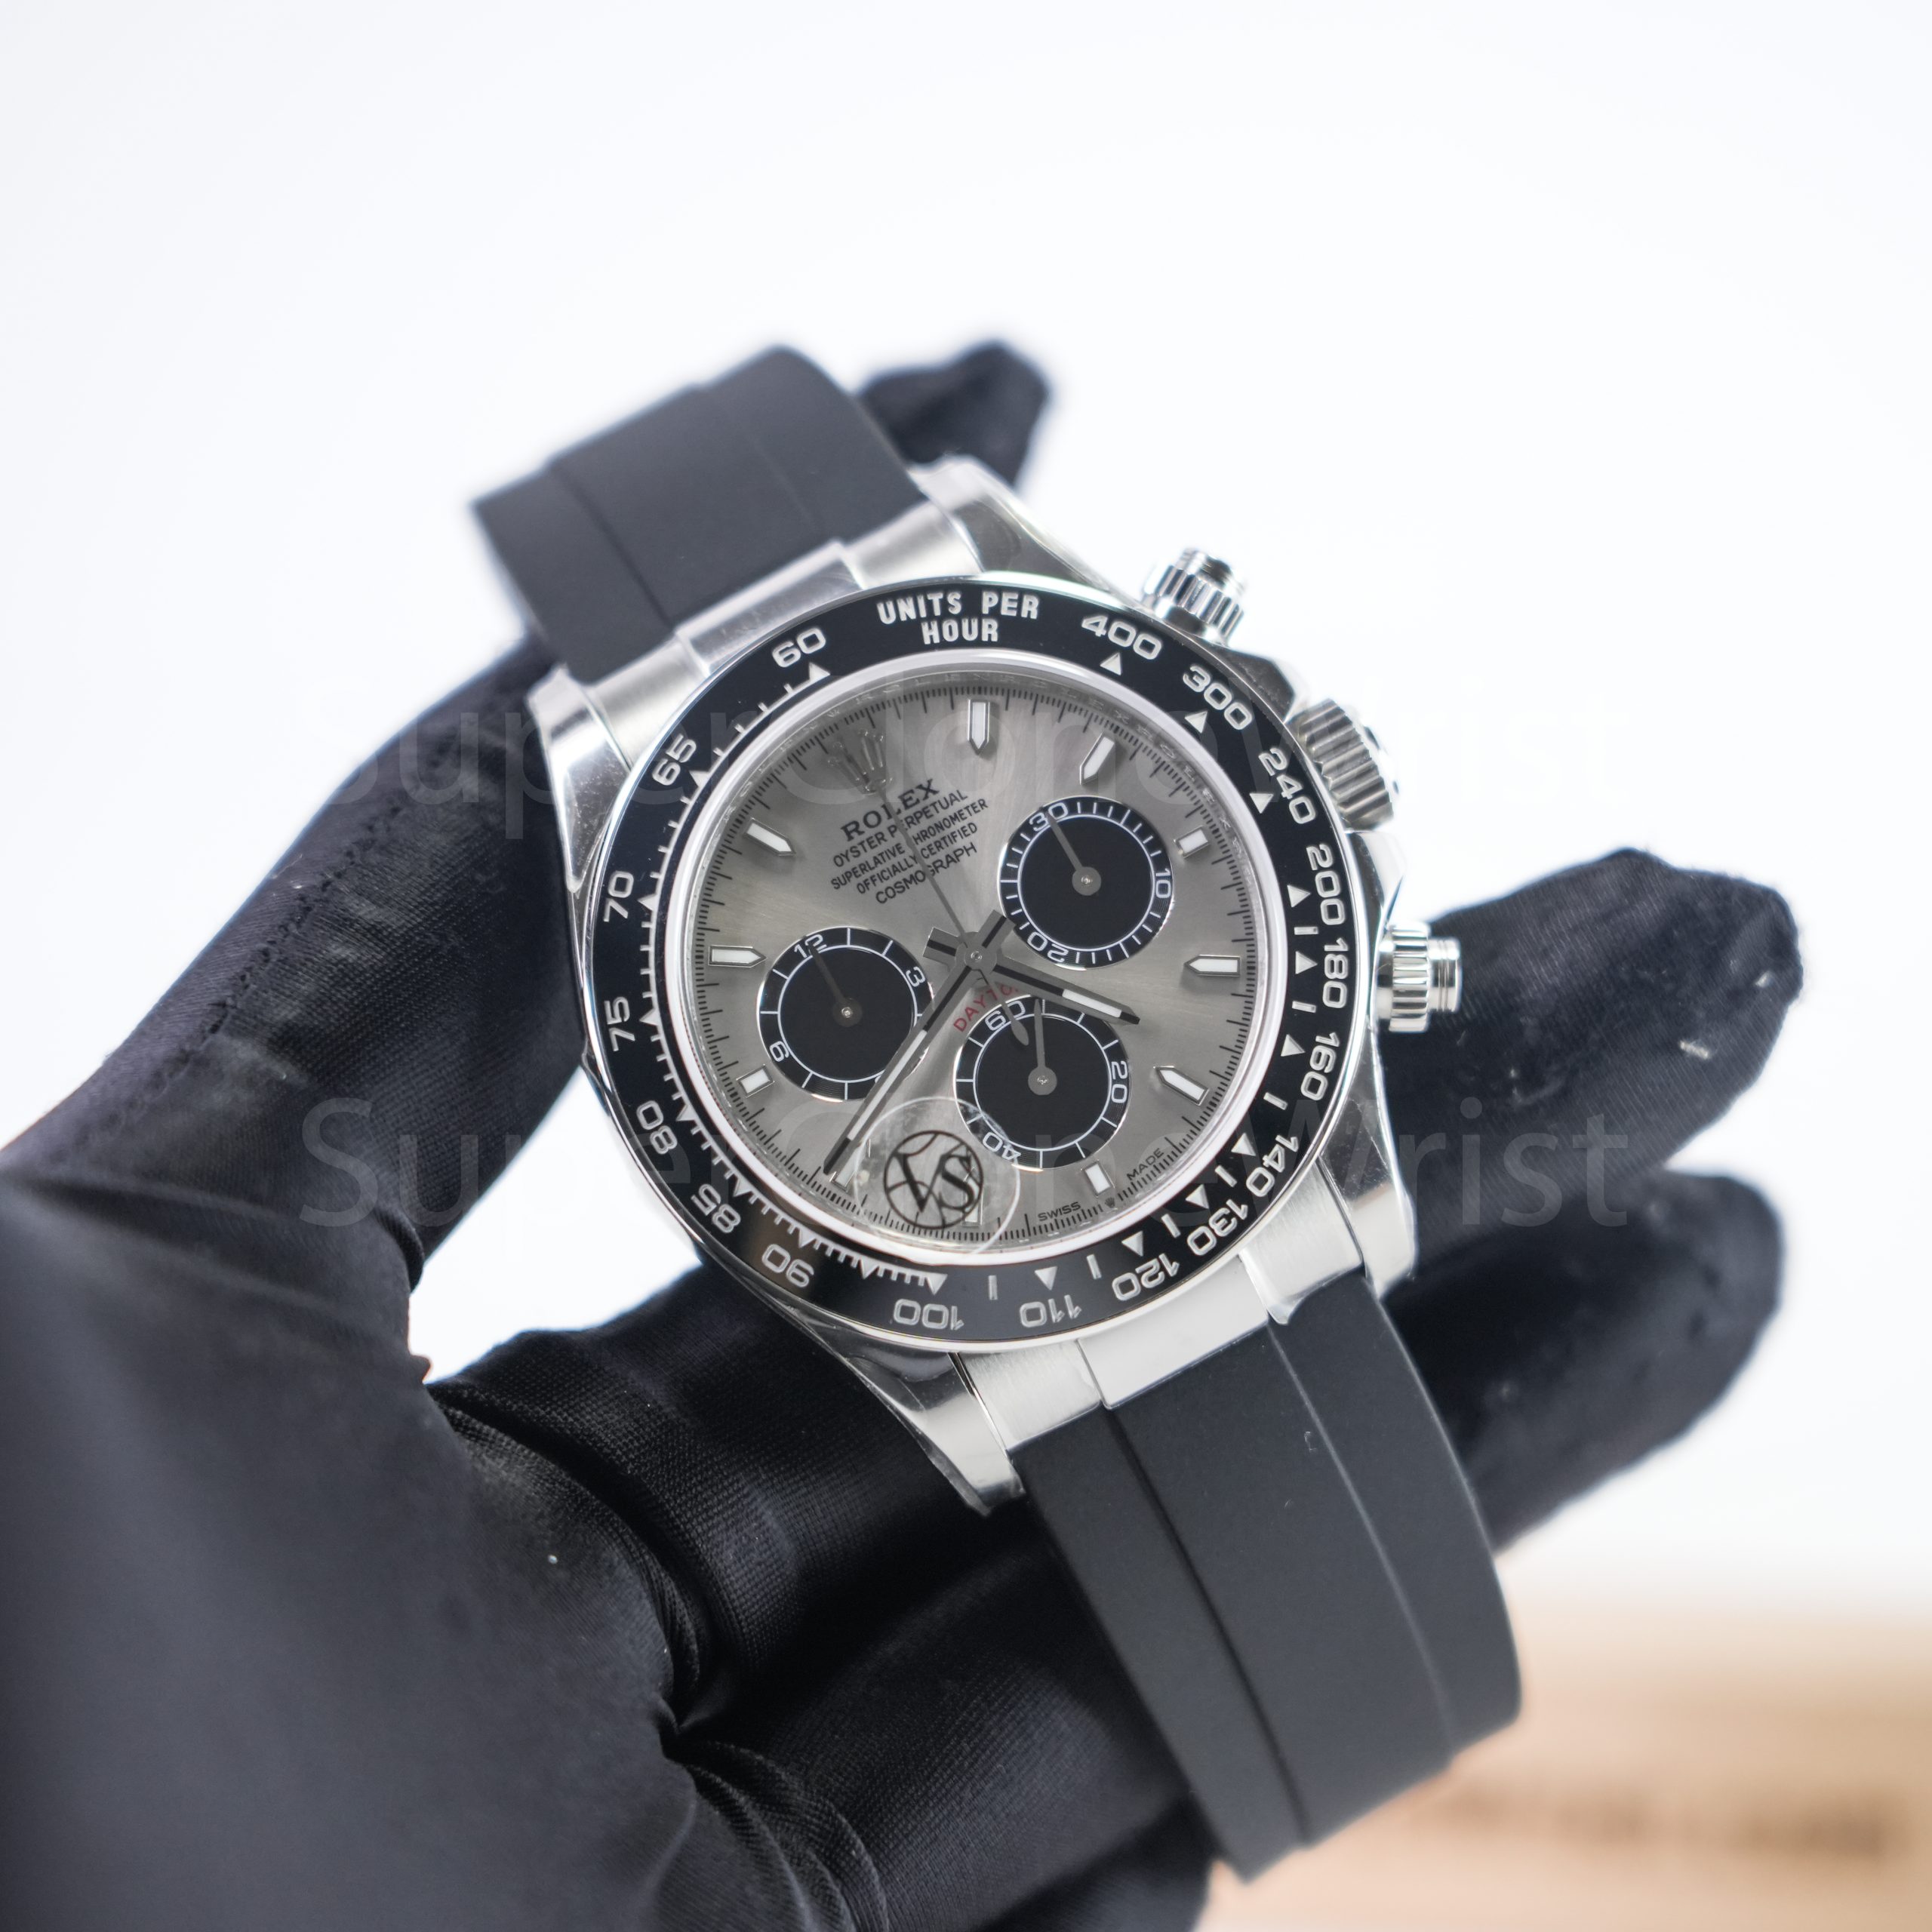
After the dial review, the outer structure needs its own pass. The bezel, case, lugs, crown area, bracelet, strap and clasp shape the whole wearing impression. A clean dial can still feel wrong if the bezel sits off or the clasp looks rough.
Lighting matters here. A polished case side may reflect a black phone. A brushed bracelet may show streaks under one lamp and look clean under another. Because of that, the side photo and clasp close-up should not be skipped.
Bezel alignment and insert details
For a rotating bezel style, the top marker matters first. The triangle, pip or 12 o’clock marker should line up with the dial’s 12 marker in a straight front photo. Even a small shift can pull the eye because those two points sit so close together.
Next, check the printed or engraved numerals. On a GMT-style or dive-style bezel, the 10, 20, 30 and 40 marks should not look uneven in thickness. On a smooth bezel, the edge should show a clean curve without a visible dent.
However, a single reflection should not cause panic. Ceramic-style surfaces can reflect light in sharp lines. If a mark appears only in one photo, one extra angle is usually the most practical next step.
Case shape, lugs and crown area
Case shape is less about one tiny measurement and more about visible balance. In a side photo, the case should not look warped, the lugs should not look uneven and the crown should sit in a sensible position against the case.
Crown guards need a close look on sports models. The crown should not appear trapped on one side or floating too far away from the case. A right-side photo can show this better than a full front image.
On square or cushion-style cases, the corners deserve extra attention. A small uneven corner can show more clearly on a square watch than on a round case because the eye compares every line to the next edge.
Bracelet brushing and clasp finishing
Bracelet checks should include the end links, first few links, screw heads, clasp cover and clasp interior when shown. A bracelet should lie naturally in the photos, not twist in a way that hides the side profile.
Clasp finishing matters more than it seems. A clasp gets touched several times a day, often at a desk, in a car or near a doorway before leaving. Rough edges, uneven brushing or unclear engraving can become annoying fast.
For integrated bracelet designs, the first link connection is especially important. A Royal Oak-style or Nautilus-style case depends on smooth flow from case to bracelet. If the link fit looks awkward, ask for one side angle before approval.
Straps, buckles and leather texture
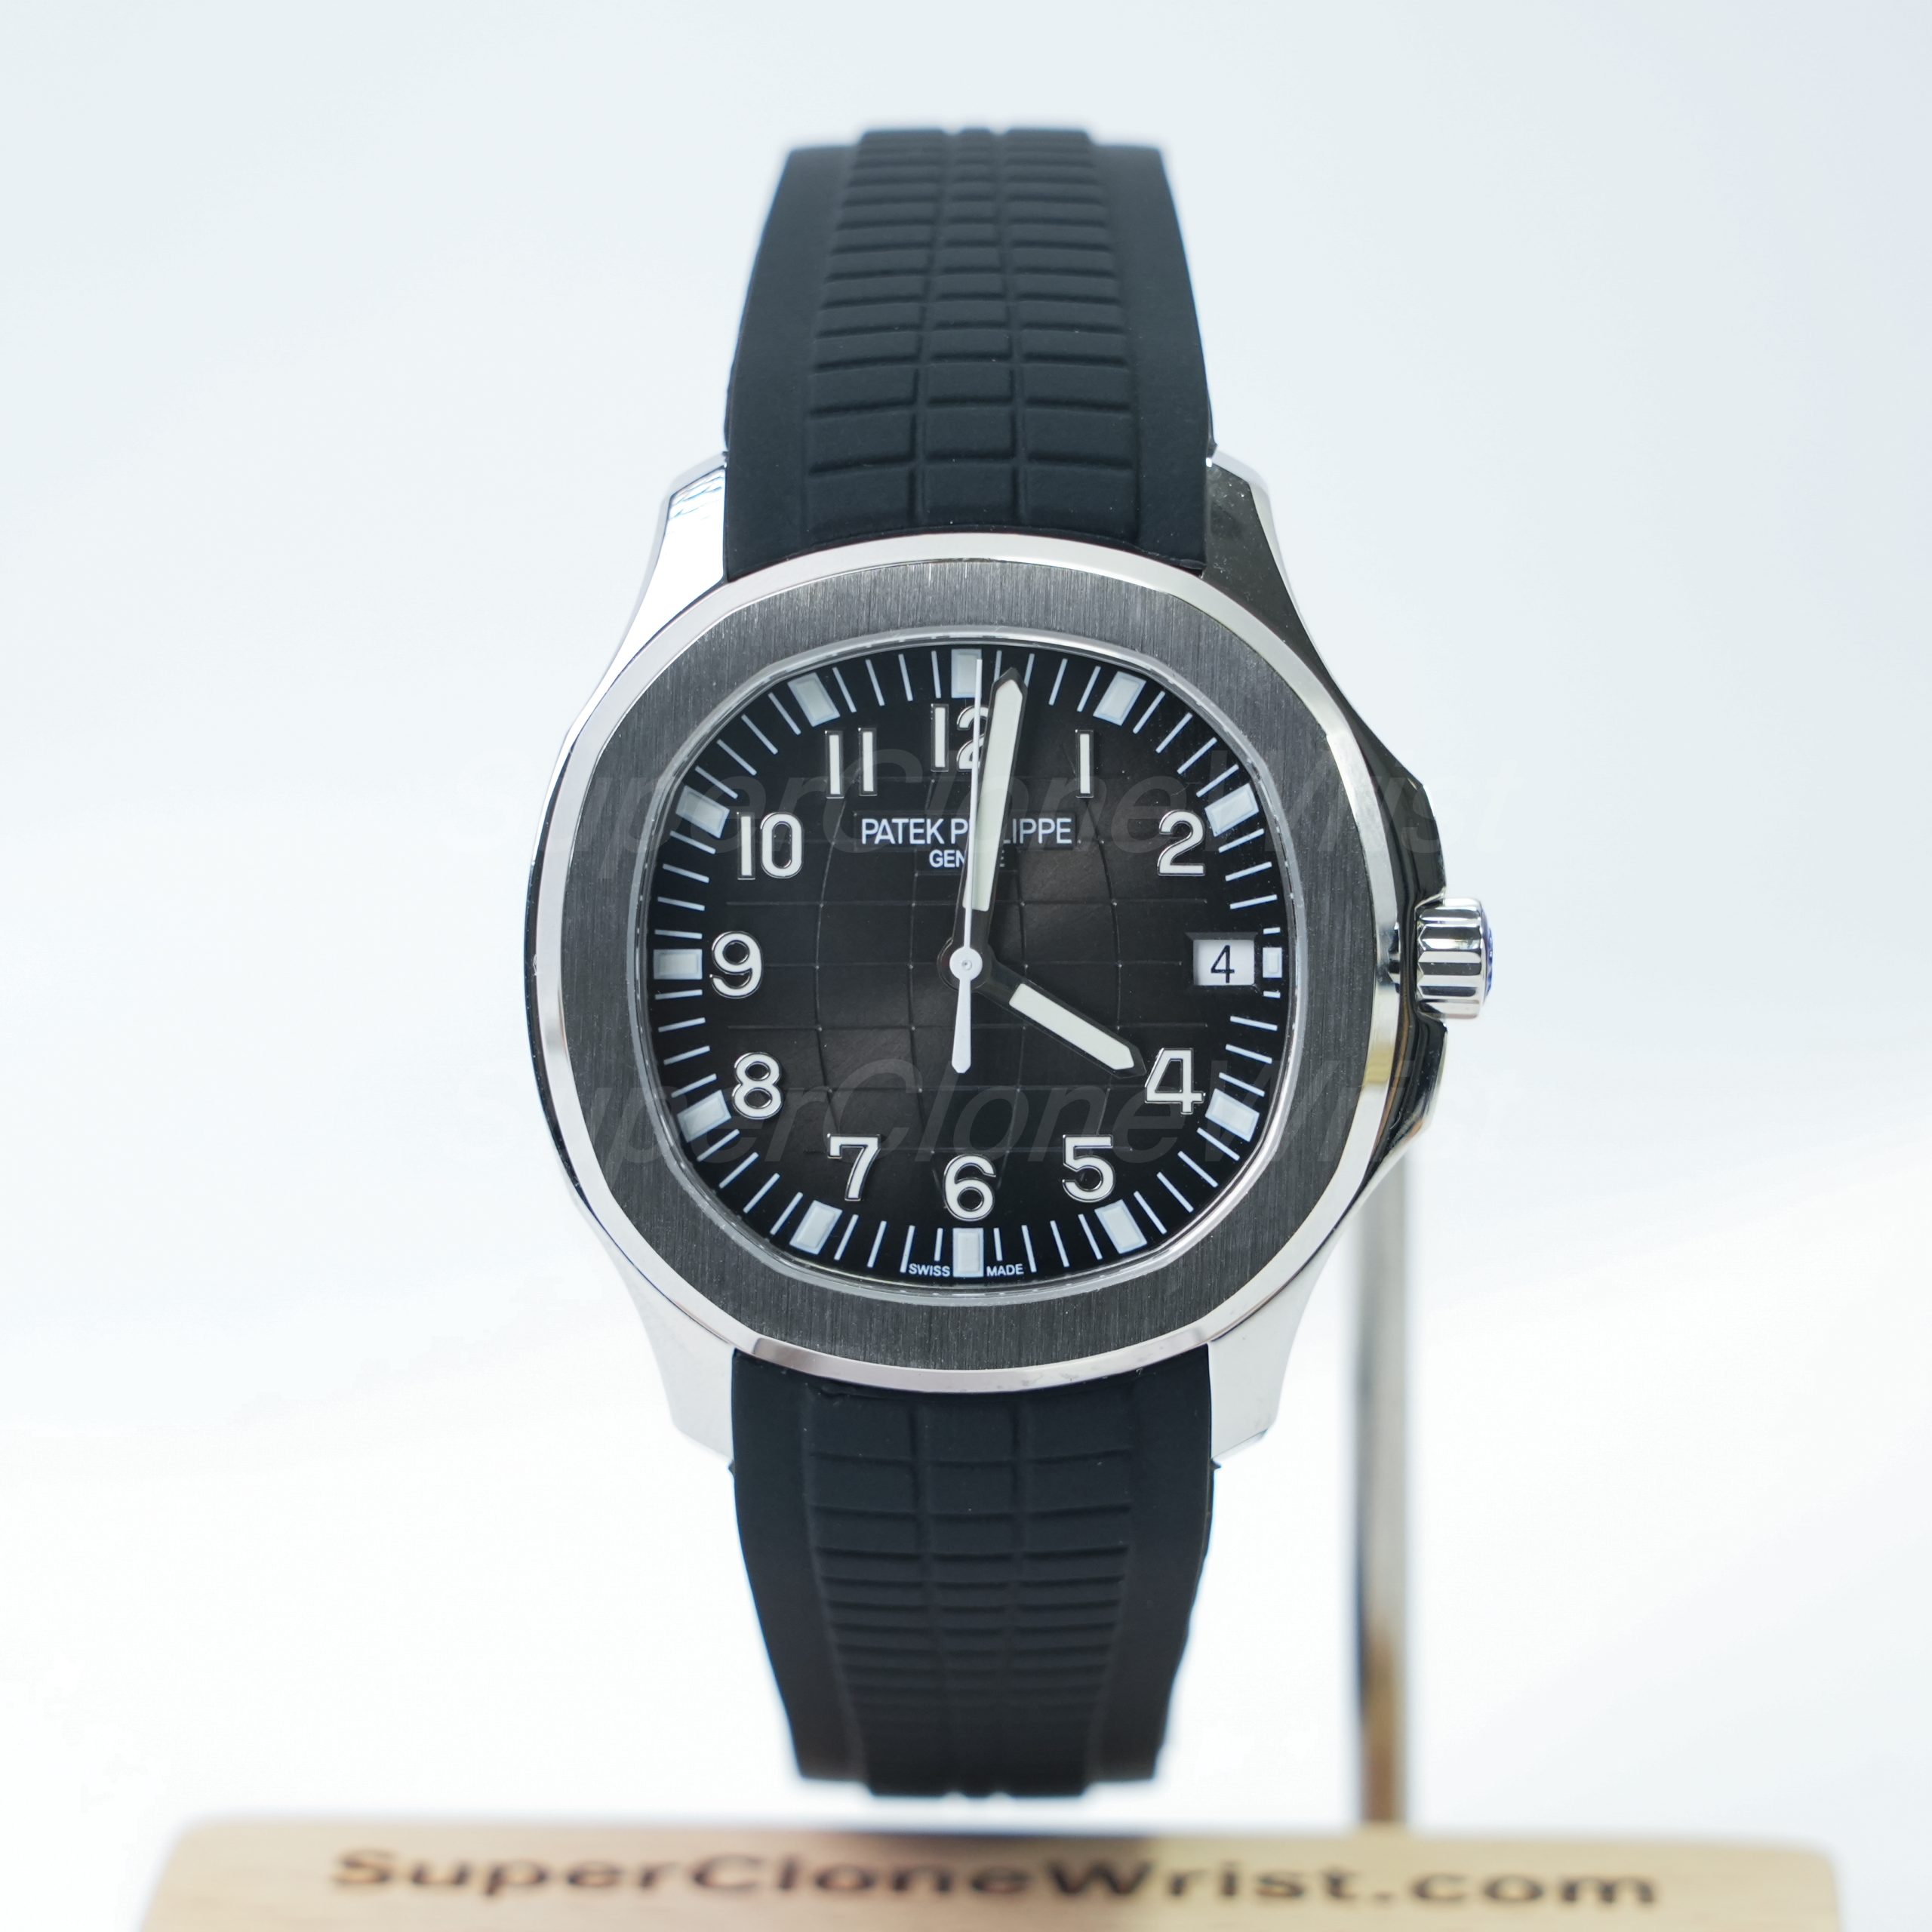
Leather straps need a different eye. Stitching, edge paint, buckle shape and strap-to-case fit should all look clean. A black alligator-style strap on a rose-tone case may look refined, but uneven stitching can take attention away from the watch face.
Rubber straps also deserve close inspection around the lugs. Any visible gap near the case should be checked in a side photo. The buckle or deployant clasp should also appear clean because that part handles daily pressure.
Product Routes That Make QC Review Easier
A cleaner QC review starts before the photos arrive. The model route should already be clear through the Shop, a brand collection page or a specific product page. Then the photo review can focus on visible details instead of basic model confusion.
For example, a steel sports bracelet watch usually needs bezel, end link and clasp checks. A refined strap piece needs dial, case polish, strap edge and buckle checks. The approval process stays the same, but the focus changes by style.
Which Watch Style Fits Which QC Focus?
A watch should be checked according to how it will be worn. A daily steel bracelet piece, a dinner-ready leather strap model and a bold sports case should not be reviewed with the same priorities. The best checkpoint depends on real use.
Daily steel watch
A daily steel watch needs comfortable proportions and clean finishing. In QC photos, the bracelet should look straight, the clasp should close neatly and the dial should remain readable without harsh glare covering half the markers.
Picture a normal weekday: laptop at 10 a.m., coffee cup at noon and indoor lighting after 7 p.m. If one visible detail would bother the eye in those small moments, it deserves a question before approval.
Sport bezel watch
A sport bezel watch brings more checkpoints. The bezel insert, 12 o’clock pip, crown guards, date window, bracelet, clasp and case side all compete for attention. Therefore, one front photo rarely tells the whole story.
Still, the review should stay reasonable. A ceramic-style reflection can look like a scratch in one photo. An extra angle solves that better than a long message based on one dark corner.
Dress strap watch
A dress watch is less forgiving than it looks. With fewer sporty details, the dial, case polish, strap stitching and buckle become the whole story. A small dial printing issue can stand out more on a clean face than on a busy bezel watch.
For a black strap or blue strap piece, strap edges matter. One side photo can show whether the strap sits naturally against the case. A buckle close-up can show whether the finishing matches the calmer style of the watch.
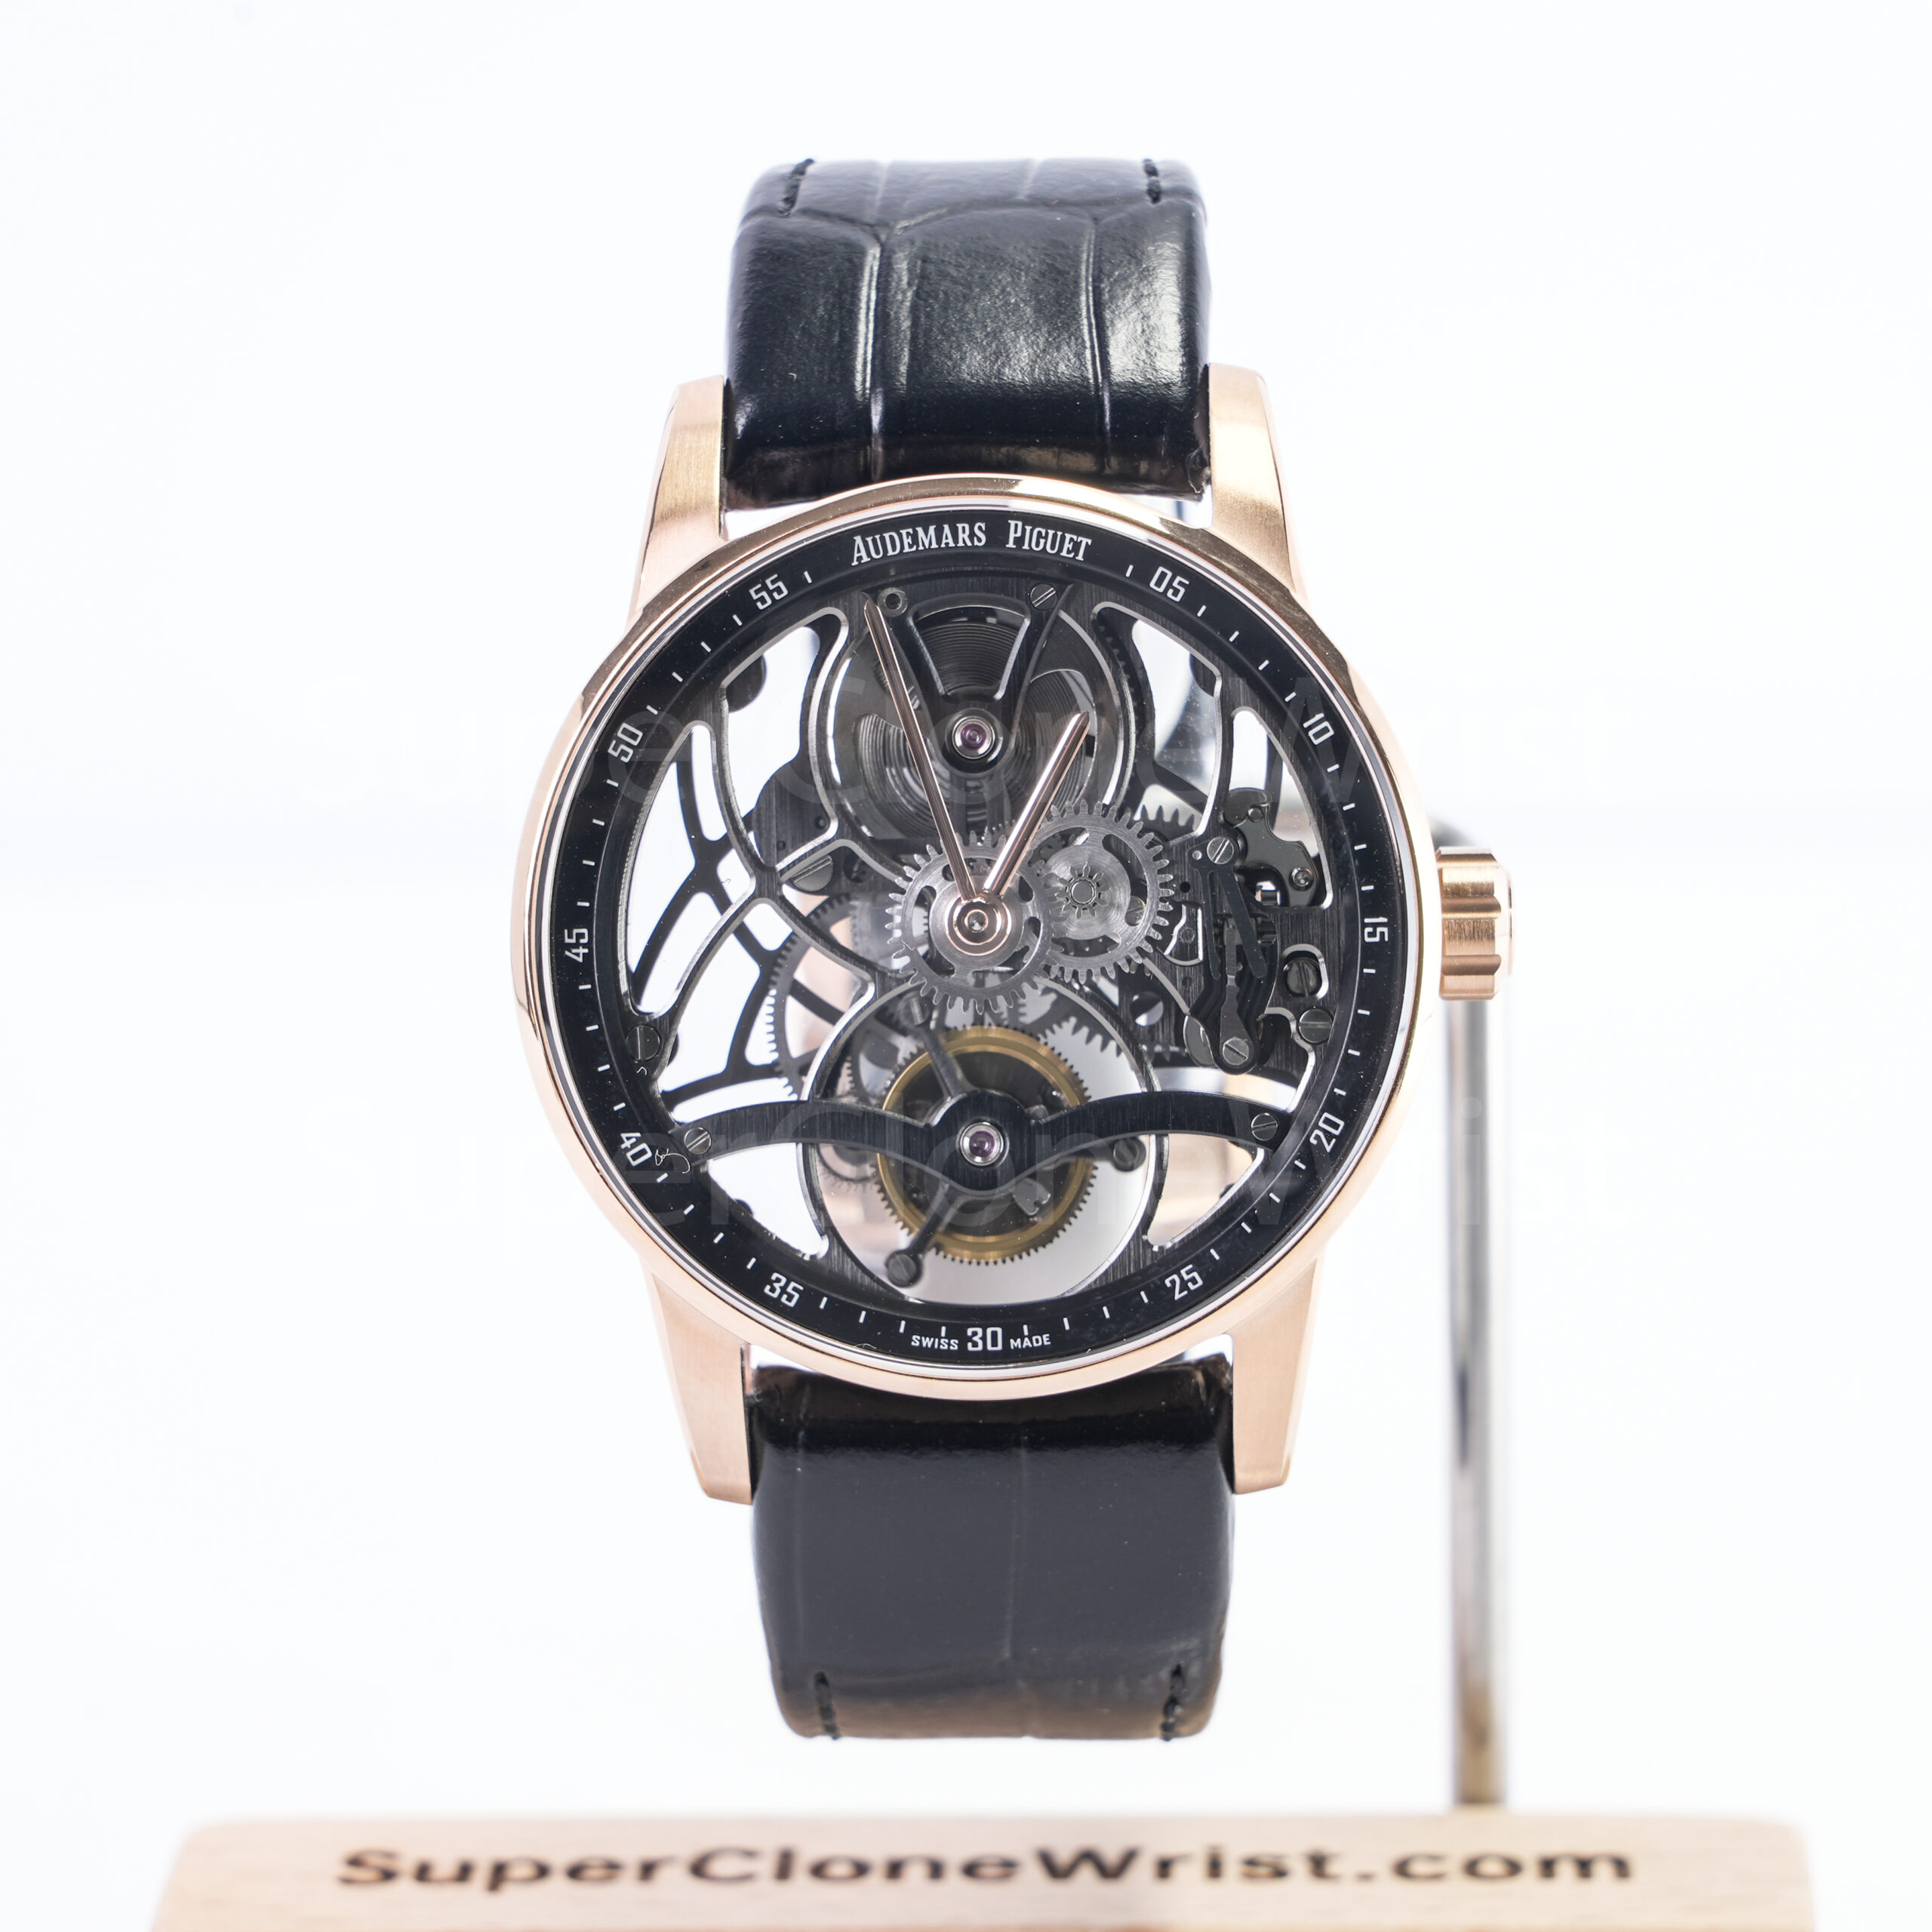
Bold case and openworked watch
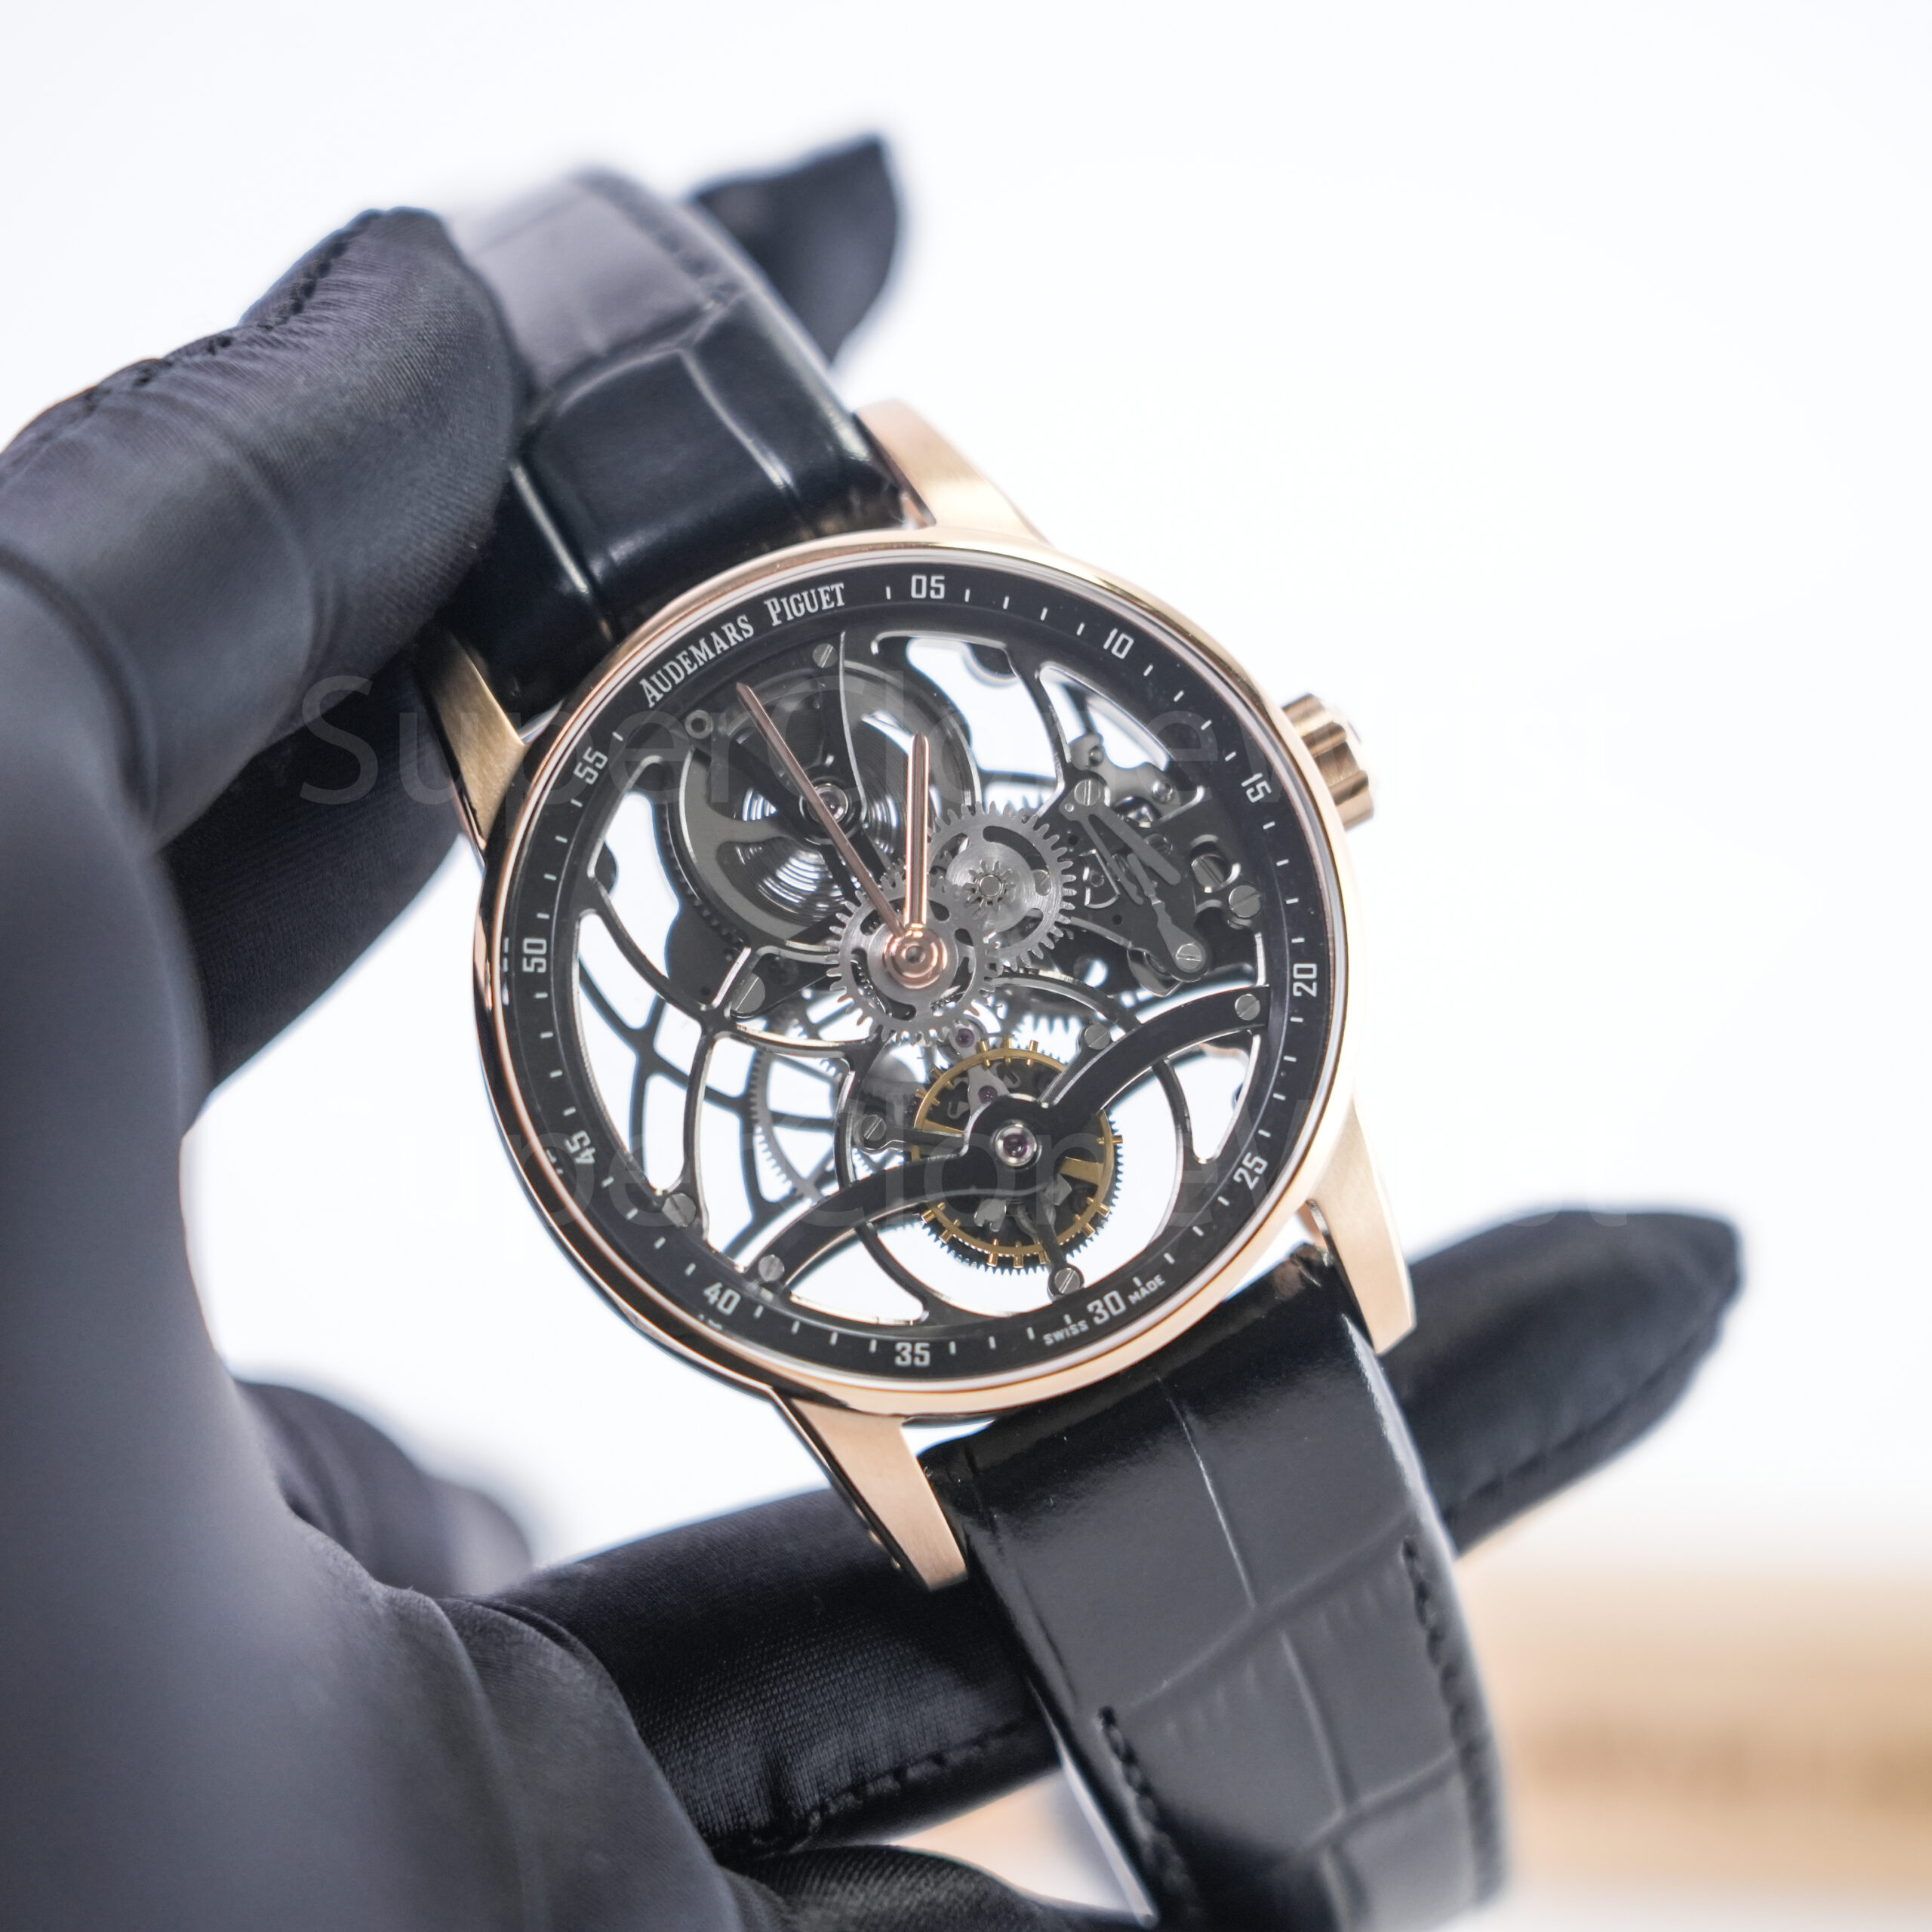
A bold case or openworked dial needs more than a flat front image. The case thickness, crown area, strap curve, exposed bridge layout and polished edge reflections all need clearer angles. This is where one short video can help more than another still image.
For an openworked AP-style route, visual symmetry matters. The eye naturally follows the skeleton bridges and central hand stack. If the dial looks crowded in a front shot, a second angle can make the real layout easier to judge.
When to Ask for Video Proof
Video proof helps when still photos cannot answer a motion question. It is not necessary for every small concern. However, it becomes useful when the question involves hand movement, date change, bezel rotation, clasp action or a visible function.
The best request is short and focused. A 10-second or 15-second clip that shows the exact concern often works better than a broad request to show everything. Clear asks usually create clearer answers.
Ask for video when motion matters
A bezel alignment concern may be solved with a straight photo. However, bezel action needs a short clip. The same goes for clasp opening and closing because a still image cannot show whether the clasp snaps shut smoothly.
For a date concern, video can show a date change if the function needs confirmation. Still, the request should stay specific. “Please show the date changing once” is clearer than a long paragraph about several unrelated details.
Ask for video when reflection hides the answer
Reflection is the enemy of QC photos. A polished case can mirror a phone, a ceiling lamp or a hand near the lens. Video sometimes helps because light moves across the surface and reveals whether the mark is glare or a visible scratch.
At the same time, video proof should stay inside the Video Proof and QC route. It should not turn into a request for promises about water use, customs results or future performance after months of wear.
Use movement guidance before asking the wrong question
Movement questions can become confusing quickly. A display back, date function, GMT hand or chronograph layout each needs different handling. That is why the movement reference should be checked before asking for a clip.
For example, a GMT-style watch may need a hand-setting question, while a chronograph-style watch may need a subdial reset check. A simple dress watch with a date window may need less video unless the date alignment remains unclear.
How to Approve or Ask Questions
Before approval, superclonewrist qc photos should be reviewed in one calm pass. Front photo first. Side case next. Bracelet or strap after that. Clasp or buckle last. This order prevents scattered questions and keeps the support thread easy to follow.
A clear final message should mention the model, the photo set reviewed and the exact remaining question if one exists. It should not mix five unrelated topics in one block. Short messages help the final step stay clean.
What clear approval looks like
A clear approval can be simple: “QC photos reviewed. Dial, date, bezel, bracelet and clasp look acceptable. Please confirm final shipping details through the official contact thread.” That message works because it records what was checked.
A weaker approval says only “OK ship.” It is fast, but it leaves no useful record. A better message takes 20 seconds longer and gives the final step a cleaner reference.
What a useful question looks like
A useful question is narrow. For example: “Please send one straight photo of the date window because the numeral looks high in the current image.” That gives one action and one reason.
By contrast, a long message with eight concerns slows the review down. In most cases, one or two clear questions work better than a full page of mixed notes about dial, clasp, payment, dispatch and packaging.
When approval should wait
Approval should wait when the photo set does not show the main concern. If the date is hidden by glare, ask for a straight date photo. If the clasp is never shown, ask for a clasp photo. If the factory version is unclear, confirm it through official support.
Also, product listing images should not replace QC photos when a QC set is part of the process. A listing image helps with selection. A QC image should show the actual prepared watch before dispatch.
A Practical QC Photo Checklist
A checklist should feel like a three-minute desk routine, not a formal inspection report. Open the photos, follow the order, zoom only when needed and write down one note if a detail remains unclear.
| Area | What to check | Useful extra request |
| Dial | Logo position, print clarity, marker alignment and minute track balance. | One straight front photo under softer light. |
| Hands | Center pinion, hand stack and subdial reset position if present. | Short hand-setting or reset video when relevant. |
| Date | Numeral height, left-right position, window cleanliness and lens distortion. | Close date photo from a straight angle. |
| Bezel | 12 o’clock alignment, pip position, numeral print and edge finish. | Straight front photo or short rotation clip. |
| Bracelet or strap | End links, brushing, screw heads, strap stitching and buckle fit. | Side photo and clasp or buckle close-up. |
This checklist stays focused on visible details. It does not pretend to be a lab test. That honesty is the reason it works.
Common QC Photo Mistakes to Avoid
One common mistake is judging everything from the most dramatic angle. A 45-degree shot may look beautiful, but it can hide a tilted marker or exaggerate the case curve. The straight front photo should carry more weight.
Another mistake is zooming too far. At 300 percent, dust, reflection and image compression can look like defects. A normal review at 100 to 150 percent is usually more honest for visible finishing.
A third mistake is mixing QC approval with unrelated payment or delivery questions. Keep approval separate, then confirm payment route, dispatch timing and delivery details through official support.
Finally, do not compare a QC desk photo against an edited social image. A real QC image is not meant to look like a magazine cover. It should show the actual prepared watch clearly enough for practical review.
How QC Photos Fit the Whole Order Path
QC photos sit near the end of the decision path, not the beginning. The model should already be chosen, the factory version should already be discussed and the main support thread should already be active.
Before that point, the cleaner path is simple. Browse the Shop, compare watch styles, read the factory guide, review movement notes and confirm the model through official support. After that, superclonewrist qc photos become a final visible check instead of a rushed product search.
This order also avoids repeated questions. A movement concern should not wait until the last photo set if the model choice depends on function. Likewise, a strap or bracelet question should be settled before QC, not after approval.
Final QC Advice Before Shipping
At the end, superclonewrist qc photos work best when the review stays focused. Check the visible watch, ask only for the missing angle and keep payment or delivery questions inside the official support route. That is the cleanest path.
A good final review does not need drama. It needs a straight front photo, a clear date or dial check, a bracelet or strap view and a short written approval only after the visible details make sense.
- Open the QC set on a larger screen and check dial, date, bezel, case, strap, bracelet and clasp in that order.
- Ask for one extra photo or one short video only when the current set cannot answer a specific detail.
- Confirm model, factory version, payment route, shipping expectation and final approval through Official Contact.
Need a Cleaner QC Review Path?
Send the model link, factory version question and QC concern through the official route before approval. The support thread should confirm the exact watch details, available QC photos, video proof needs and final shipping notes.
FAQ
What should QC photos show before shipping?
A useful set should show the front dial, side case, bezel area, bracelet or strap, clasp or buckle and any important detail such as the date window. The model and factory version should already be clear before review starts.
Can QC photos prove water resistance?
No. QC photos help review visible details, but they should not be treated as proof of water resistance, customs results or long-term movement behavior. Special concerns should be confirmed through official contact before approval.
When is video proof better than photos?
Video proof helps when motion matters. Examples include bezel rotation, clasp action, date change, hand setting and chronograph-style reset checks. A short focused clip is usually more useful than a broad video request.
Should one small flaw stop approval?
It depends on visibility. Dust or reflection in one angle may not matter. A clearly tilted marker, off-center date, misaligned bezel or rough clasp edge should be questioned with one direct request for a clearer photo.
Where should final questions be confirmed?
Final questions about model details, factory version, QC photos, video proof, payment route, shipping expectation and order notes should be confirmed through the official contact page. A single support thread keeps instructions clean.
Which collection should be checked first?
For everyday steel styles, start with the Rolex collection. For integrated bracelet or bold case checks, AP-style pages are more useful. For strap fit, date window and cleaner dial balance, Patek-style rubber strap routes can be easier to review.